
Aloha Memories: Scrapbooking the Byodo-In Temple Visit
If you’ve ever walked the serene grounds of the Byodo-In Temple on Oahu, you know just how soul-soothing that experience can be. Between the koi ponds, the towering mountains, and the peaceful ring of the sacred bell, it’s hard not to feel completely transported.
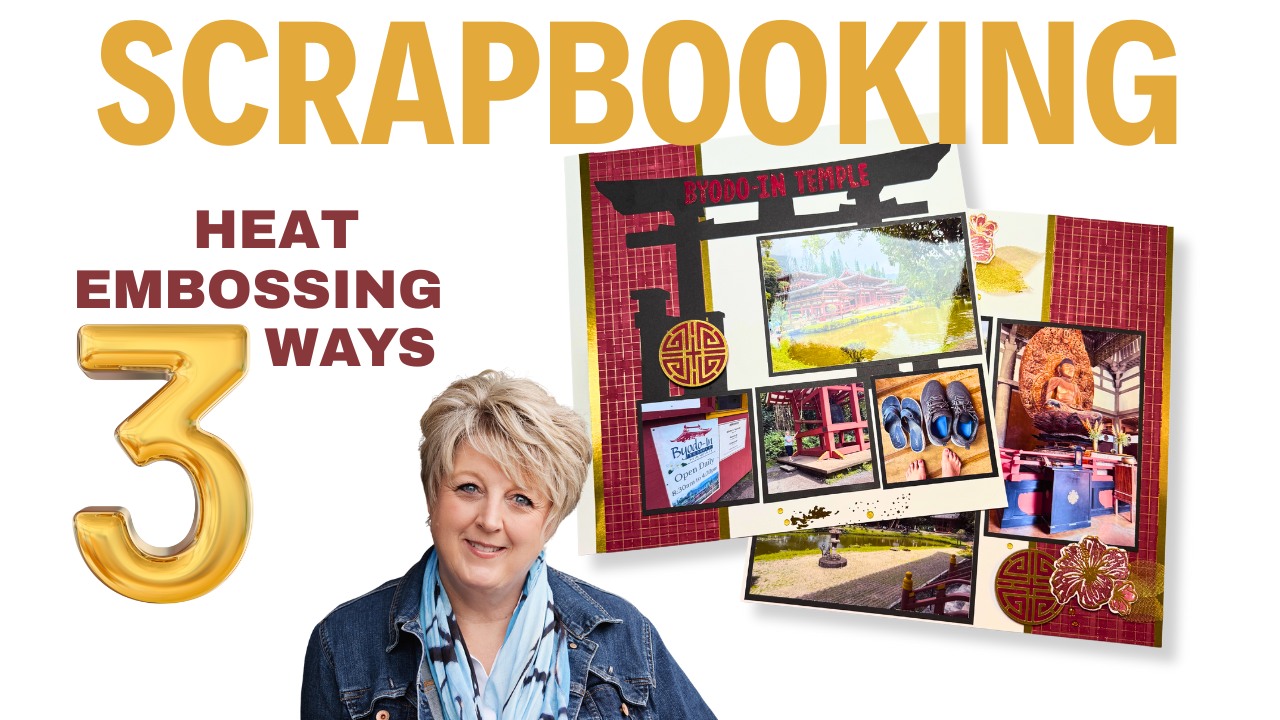
So of course, I had to create a two-page scrapbook layout worthy of those special moments—and let me tell you, this layout came together with a whole lot of aloha, a bit of Cricut magic, and some seriously fun heat embossing techniques!

Byodo-In Temple - Oahu
The Creative Vibe: A Temple-Inspired Tranquil Layout
For this double-page spread, I combined Stampin’ Up! products, my Cricut machine, and not one, not two, but three heat embossing techniques to bring texture, shimmer, and dimension to the page.
Let’s break it down, shall we?
Heat Embossing Over Stamping
This is a favorite trick when you want to elevate your stamped images from “nice” to “WOW.” I stamped delicate floral designs in soft tones, then embossed over them in gold. It added shine, depth, and just the right amount of elegance without stealing the show from my photos.

Heat Embossing Over Ink
2. Using Other Items Besides Stamps
Who says stamps get to have all the fun? I pulled some textured items from my craft room—think lace, stencils, and even the edge of a leaf—to emboss one-of-a-kind patterns onto cardstock. The results? Organic, unexpected, and absolutely gorgeous. Bonus: it’s a great excuse to raid your kitchen drawers for embossing inspiration. (Yes, I’ve used a fork. Don’t judge.)

Heat Embossing Hibiscus
3. Free Hand Embossing
This one felt a little daring—but oh, so worth it! I used a VersaMarker to draw some soft waves and freehand Japanese characters for “peace” and “temple.” With a sprinkle of powder and a quick zap of the heat tool, I had completely custom embellishments that felt personal and totally unique.

Versamark Ink Refill
Extra Touches: Cricut + Stampin’ Up! = Dream Team
I used my Cricut to cut out a graceful silhouette and, and then paired them with Stampin’ Up’s Basic Black, Cherry Cobbler, and Gold Foil cardstocks. I also introduced the Happy Hibiscus Stamp and Die Bundle.
Want to See It All in Action?
I walk you through the whole creative process in my latest YouTube tutorial, including how I:
Avoid warping my paper with all that heat embossing (no crispy layouts here!)
Choose papers and accents to enhance the feeling of calm and beauty
Layer embellishments without creating scrapbook pages that require a crowbar to close
🧳 Watch the full video here:
👉 https://youtu.be/pz5N5fJ-sGI
🌐 Shop Stampin’ Up! with Me: www.papercraftpossibilities.stampinup.net
📸 Instagram: @Papercraft_Possibilities
📘 Facebook: Papercraft Possibilities
🌍 Website & Freebies: www.papercraftpossibilities.net